I still remember the first time I helped a realtor friend save $2,400 on a physical staging bill. He was staring at an empty, cavernous living room, sweating over a quote from a local staging company that included delivery fees, "rental insurance," and a mandatory three-month commitment. I pulled out my laptop, took a decent wide-angle shot, and realized we could solve this problem in a fraction of the time for a fraction of the cost.
Since that day, I’ve logged over 200 hours testing a dozen different virtual staging platforms, trying to balance the fine line between "fast" and "photorealistic." If you are a realtor or a DIY investor looking to fill those empty spaces without breaking the bank, you’ve likely stumbled upon the world of drag and drop staging. But let’s be honest: most of these platforms are clunky, and the AI often produces furniture that looks like it’s floating in a dollhouse.
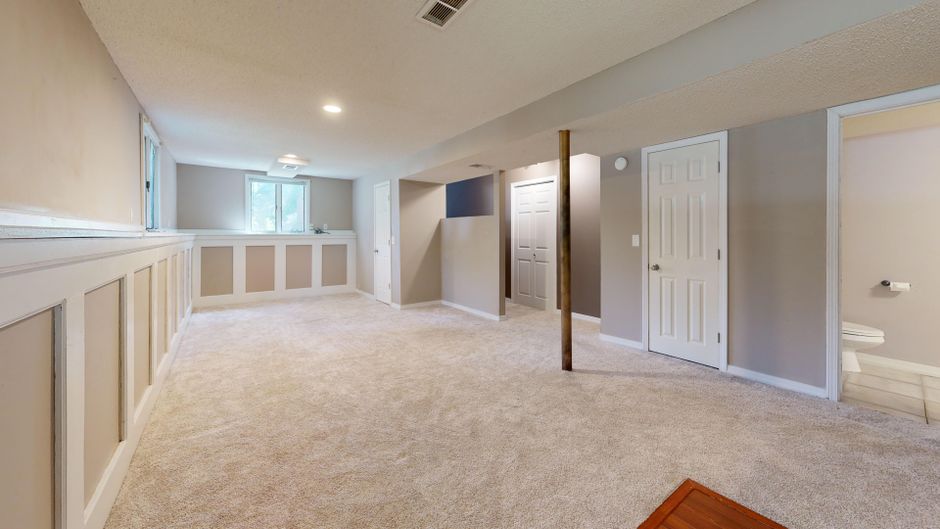
Before we dive into the the software, I have to ask the question I ask every single client: Did you reshoot the photo first? If you’re trying to stage a blurry, dark, or badly composed photo, no amount of AI is going to save your listing. Garbage in, garbage out.

AI Virtual Staging vs. Physical Staging Costs
Physical staging is the gold standard for luxury listings, but for the average property, it’s a budget-killer. We aren't just talking about the monthly rental fee; we're talking about logistics, damage risk, and the slow pace of manual labor. Virtual staging, conversely, is the agile alternative. It allows you to pivot styles based on the demographic you’re targeting—Mid-Century Modern for the tech crowd, or Farmhouse for the family buyers—in under 48 hours.
Here is how the costs generally break down for a professional-grade service versus DIY automation:
Method Estimated Cost Turnaround Time Physical Staging $2,000 – $5,000+ 1–2 weeks Full-Service (e.g., BoxBrownie) $32 – $48 per image 24–48 hours DIY AI "Drag and Drop" $5 – $15 per image 30 seconds – 2 hoursThe "Broken Room" Problem: Why AI Still Struggles
Not every room is a candidate for easy staging. Through my testing, I’ve kept a running list of "rooms that break AI." If your property features these, be prepared to do a lot of manual cleanup:
- Dark Rooms: AI tools struggle to calculate light sources, often resulting in furniture that looks like a sticker placed on top of a shadowless void. Narrow Kitchens: The perspective math usually fails here, making a kitchen island look like it’s floating at a 45-degree angle. Awkward Angles: Wide-angle shots that distort the corners of the room often cause furniture to warp or "stretch."
Top Tools for Drag and Drop Staging
When searching for a user-friendly staging app, don’t fall for the glossy marketing claims of platforms that promise "one-click perfection." Most of the time, the shadows are wrong, and the furniture scale is cartoonish. However, a few stand out for their actual ease of use.
1. BoxBrownie (The Professional Workflow)
BoxBrownie remains the king of the "hands-off" approach. While it isn't strictly "drag and drop" for you (you send the files and their human editors do the work), it is the most reliable for photo realism. At $32-48 per staged image, you are paying for an editor to manually adjust shadows, perspective, and lighting. If your listing is high-end, this is where you go to avoid the "fake furniture" look.
2. PadStyler
This is arguably the best "middle ground" tool. It offers a fairly intuitive interface that lets you select furniture sets. Their library is vast, which helps keep the furniture scale consistent. It’s perfect for when you have a 48-hour deadline and need to ensure the couch doesn't look like it’s ten feet long.
3. Homestyler (The DIY Powerhouse)
If you want true DIY virtual staging, Homestyler is your go-to. It’s essentially a gaming engine for interior design. Pretty simple.. You can drag and drop high-quality 3D assets into your photos. The learning curve is slightly steeper than the others, but once you master it, you can edit a photo in under 30 seconds.
The MLS Workflow and Disclosure Rules
This is where I see agents get into trouble. You cannot just slap digital furniture on a photo and call it a day. The National Association of Realtors (NAR) and most local MLS boards have strict disclosure rules regarding virtual staging. Ignoring these can lead to fines or accusations of misrepresentation.
Label It: Every staged image must be clearly marked. Use a watermark on the image itself, or at the very least, include the phrase "Virtually Staged" in the caption of every listing photo. Disclose: Include a disclosure in the property description. Something as simple as: "Some images have been virtually staged to showcase the property's potential." Maintain Reality: Never digitally remove permanent fixtures (like a load-bearing column or a radiator) that exist in the physical space. That is considered material misrepresentation.Final Thoughts: Don't Let Tech Overshadow the Listing
The goal of virtual staging is to help buyers envision themselves in the space, not to create best-virtual-staging-softwares.mystrikingly.com a digital art gallery. If you find yourself spending more than 30 seconds trying to force a sectional into a room that clearly won't fit it, stop. You are creating a visual lie that will alienate the buyer the moment they walk through the front door.
Always prioritize the shot. A well-lit, clean, empty photo is always better than a poorly-staged one. If you’re working on a tight weekend deadline, pick a reliable platform, stick to neutral furniture styles, and always— always—disclose your edits. Your reputation is worth more than a few staged pixels.